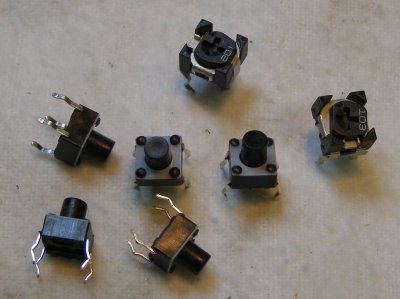
Since the kit did not include an enclosure, the EP suggested that I might like to find a case to put my project in and I was excited to run with that idea. Having decided to take that route, the push buttons and potentiometers provided with the kit (shown in the following picture) were unsuitable and reallocated to the EP's vast supply of parts. I searched the EP's supply for a case and potentiometers together with the various knobs and buttons I would need.
Then ... new skills!!! I was lucky to find the perfect case and learned to drill holes for the speaker, microphone, knobs, buttons and the addition of an output jack as well as a power switch and LED. As the first step I drilled holes for the speaker, mounted it and populated the board ready for wiring as you can see in the following picture.

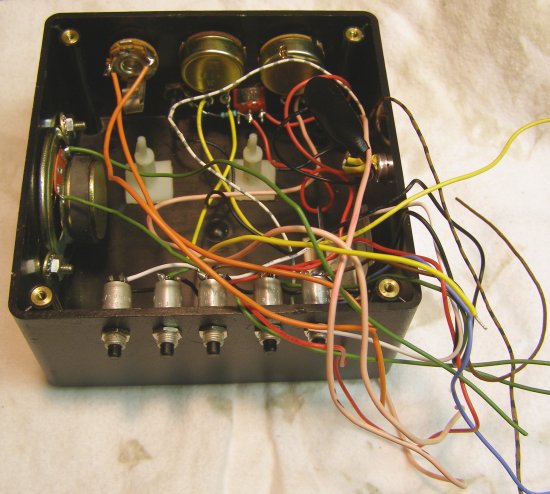
Next -- learning to strip, solder and connect wires!!! In the following picture you can see where the remaining holes were drilled for placement of the other parts which were then mounted. You can also see that all the wires have been connected to those parts.
It was time to strip the wires to get ready to connect to the circuit board. Now .. could I strip the wires without breaking a soldered connection?? Then could I attach all those wires without having any breaks??
Wires all connected with no mishaps - power source in place! Just the outside to complete and then .. will it work?!
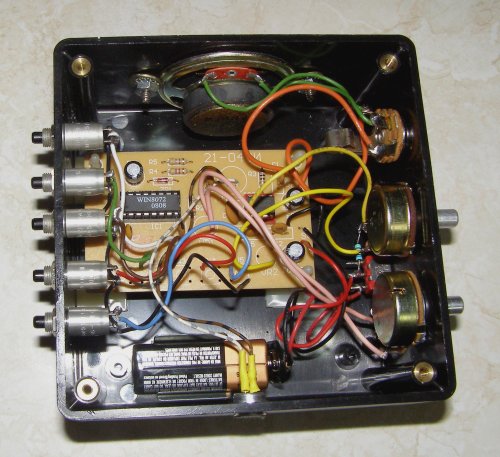
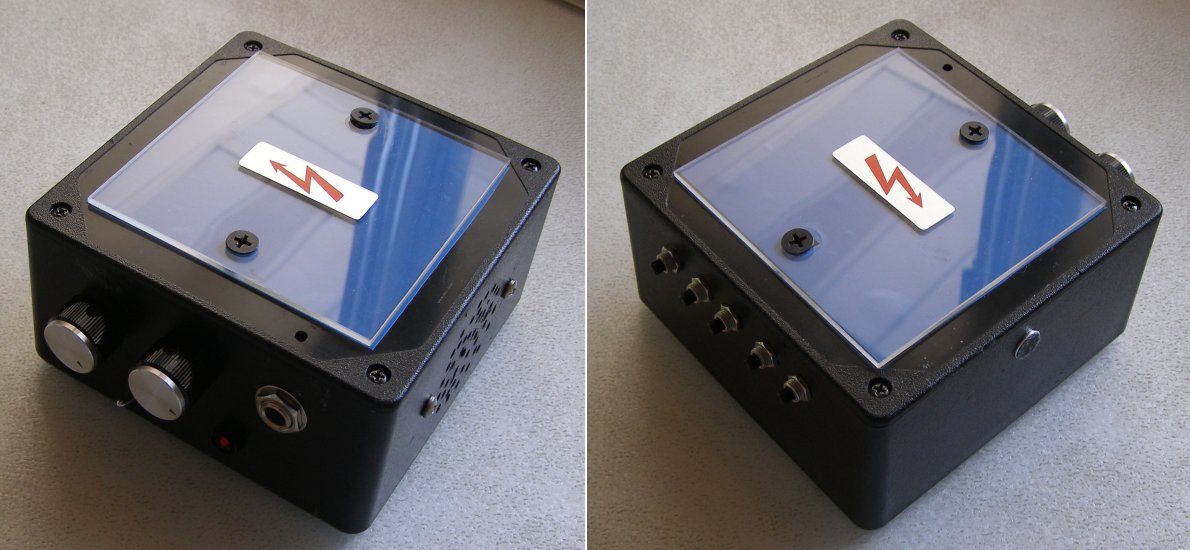
and finally the first completed Celtic Peasant project ... and yes it even works!!
Listen to the sound file: Voice sounds! (.wav, 847K)